
Building your own wood fence can save you money and give you full control over the look of your property. But DIY fences also come with challenges—from crooked posts to boards that warp after one season. The good news? With the right hacks, you can avoid the rookie mistakes and build a fence that’s straight, strong, and built to last.
Here are the top 10 DIY hacks every homeowner should know before building a wood fence.
1. Use a String Line for Perfectly Straight Posts
Eyeballing your post alignment is a recipe for a crooked fence. Instead, run a tight mason’s string along where the fence will go, from the first corner post to the last. Every post in between should line up exactly with that string. It’s the easiest way to get a professional look without guessing.
2. Dig Deep Enough (Below the Frost Line)
One of the biggest reasons DIY fences lean is shallow posts. In London, Ontario, you’ll want to dig at least 3–4 feet deep, going below the frost line so seasonal ground movement doesn’t push the post out of place. Use a post hole digger or auger to save your back.
3. Set Posts in Gravel + Concrete Combo
Many homeowners set posts in only concrete, but that can trap water and cause rot. A better hack is to add 6 inches of gravel at the bottom of each hole for drainage, then set the post in concrete. This combo gives strength while allowing water to escape.
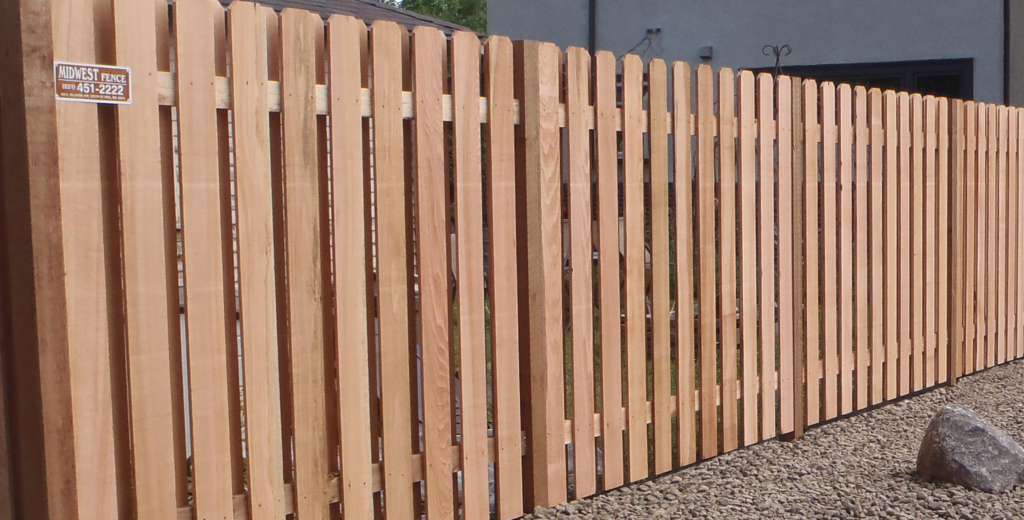
4. Stagger Your Boards to Reduce Warping
Wood naturally expands, contracts, and warps. Instead of lining up every joint in the same spot, stagger them. This not only looks better but prevents large sections from bowing over time.
5. Pre-Stain or Seal Boards Before Installation
Most people stain their fence after it’s built. The problem? The hidden sides of boards are left untreated and rot faster. Pre-staining or sealing boards before installation protects every surface, making the entire fence last longer.
6. Use Screws Instead of Nails
Nails may be faster, but they work loose over time. Exterior-grade screws hold tighter, prevent boards from popping, and make repairs easier if you ever need to replace a panel. Spend the extra few bucks—it’s worth it.
7. Add a Gravel Trench Under the Fence
Water is a wood fence’s worst enemy. Laying a shallow gravel trench directly under your fence line helps with drainage, reduces mud splash on boards, and prevents weeds from growing right at the base.
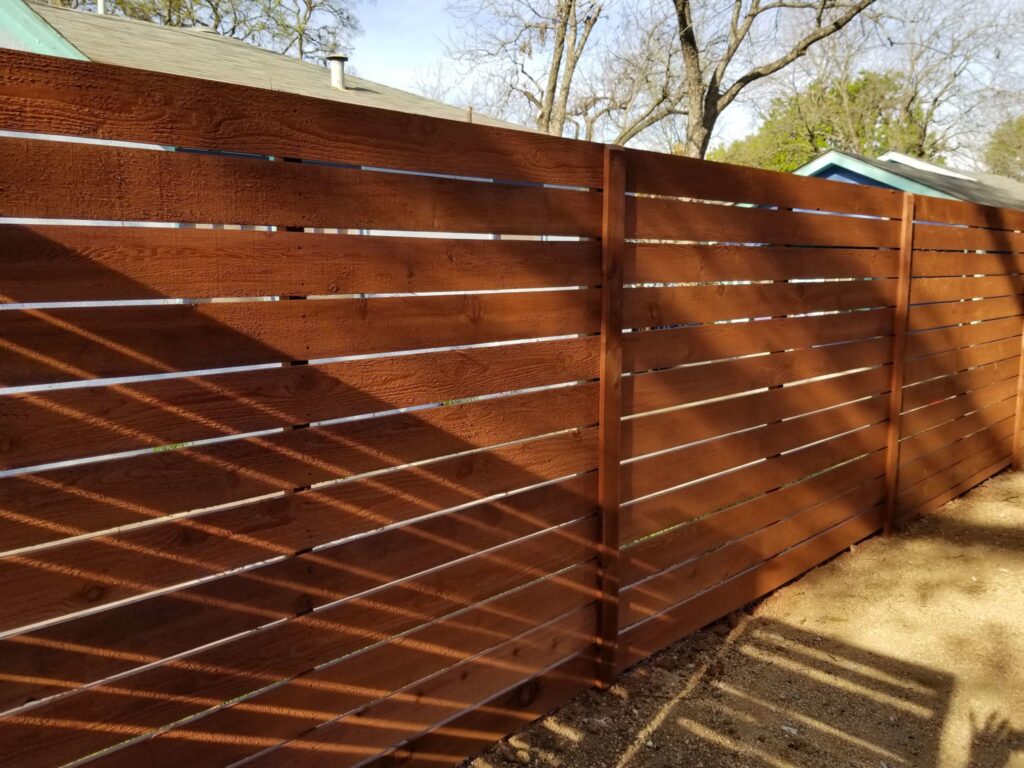
8. Plan for Expansion Gaps
Wood expands and contracts with weather. If you install boards too tightly, they’ll buckle or crack. Leave small gaps (⅛–¼ inch) between boards so they have room to breathe without damaging the structure.
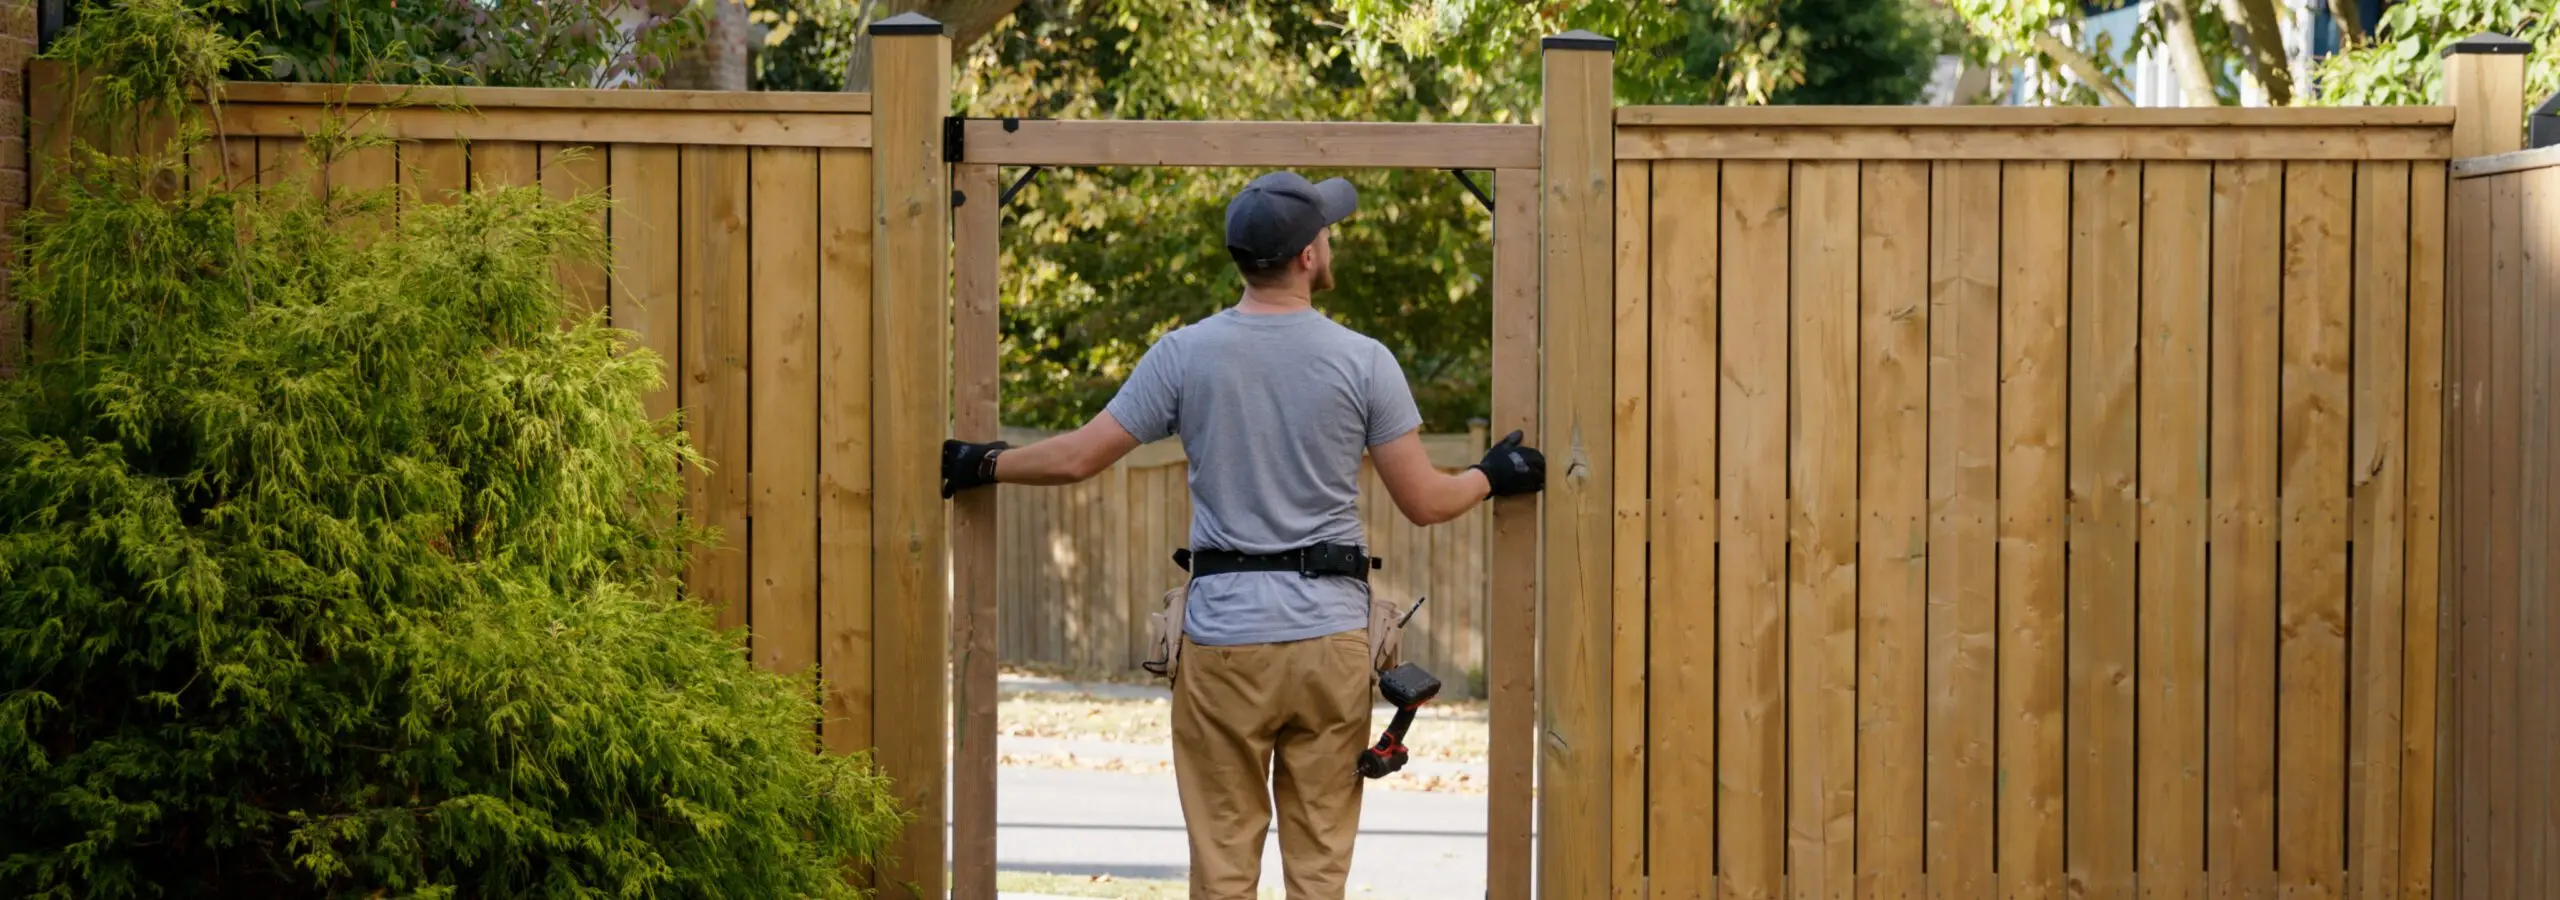
9. Brace Gate Posts with Extra Support
Gates are the heaviest and most-used part of a fence. If you don’t brace those posts, they’ll sag. Use larger posts (6×6 instead of 4×4) and add diagonal bracing or extra concrete to support the weight.
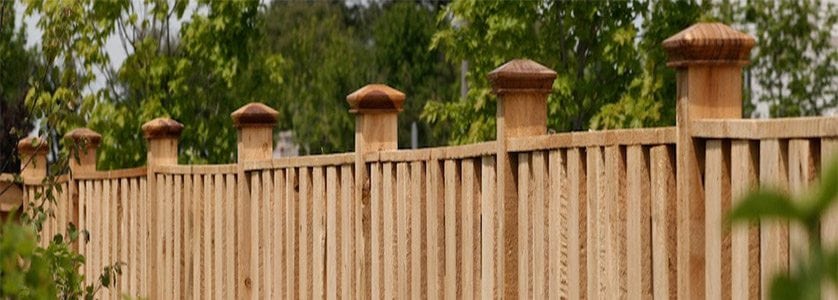
10. Cap the Fence to Prevent Water Damage
An often-overlooked hack is adding a cap rail to the top of your fence. This keeps water from soaking into the end grain of boards, which is where rot starts. A simple 2×6 cap adds years to your fence’s life and gives it a polished, finished look.
Final Word
DIY wood fences can look just as good as professionally built ones—if you know the tricks. From digging deeper posts and using gravel for drainage to pre-staining boards and bracing your gate, these hacks save time and money while making your fence last longer.
If you’re planning to tackle your own wood fence in 2025, start with these 10 hacks and you’ll avoid the most common mistakes that lead to sagging, rotting, or uneven fences.